Basement Home Theater Layout: How to Plan the Room Before You Plan the Screen
Quick Answer: You already have the projector picked out, or maybe the screen size is decided, and now you are standing in the basement trying to figure out where the seating will go, how far back the couch needs to sit, and whether that support column near the stairs is going to end up in the middle of your second row. A home theater built around a great picture and clear sound comes from decisions made in the opposite order: room first, screen second, seating worked out row by row until every seat has a clean view.
Here is the short version. Ceiling height needs to clear the 7 foot minimum required for habitable basement space under the International Residential Code, and most rooms perform best at least 12 to 14 feet wide so a screen, a walkway, and one or two rows of seating fit without feeling cramped. Screen size should be set by viewing distance, not the other way around, using a distance of roughly 1.2 to 1.6 times the screen width to land inside the range recommended by THX and SMPTE. Multiple rows of seating typically need a riser between 6 and 12 inches so the back row can see over the front row without losing sightlines. Getting these dimensions settled before ordering any equipment is what separates a theater that feels right from one that needs to be reworked a year later.
Ceiling Height and Room Dimensions Set the Boundaries Before Design Starts
Ceiling Height Determines What The Room Can Legally Be
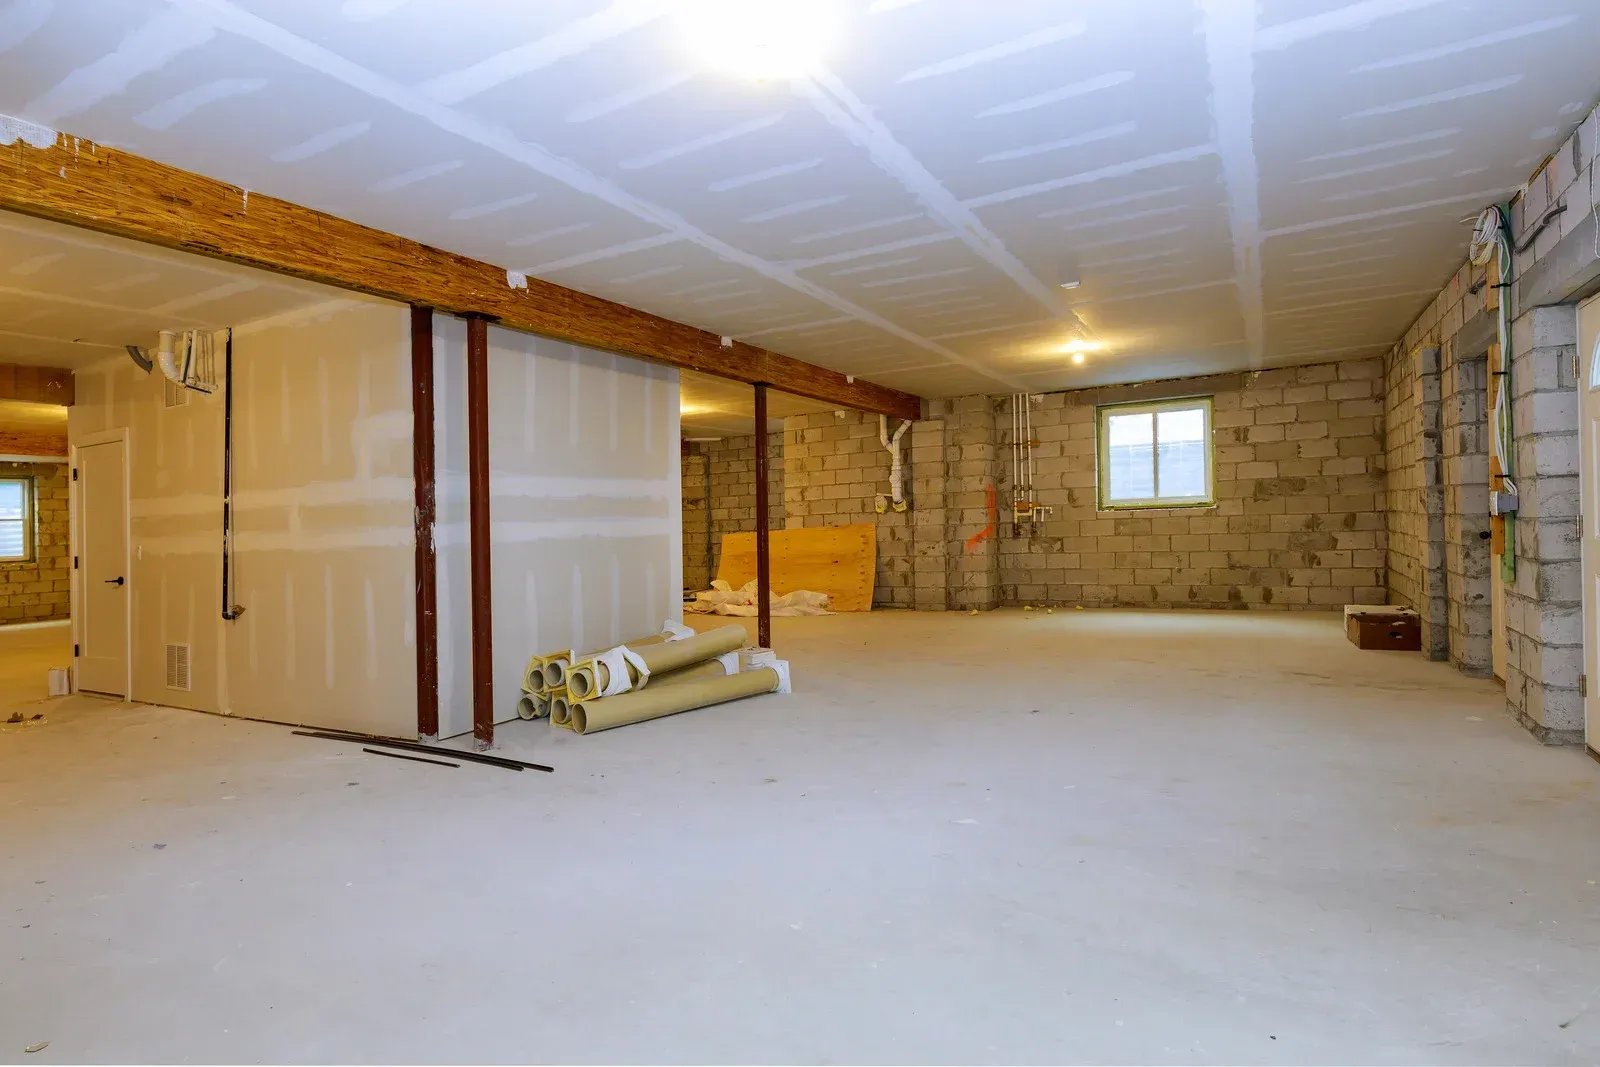
Habitable basement space in Saco and across York County falls under the International Residential Code, which sets a minimum finished ceiling height of 7 feet for any room intended for living or entertainment. Beams, ductwork, and other obstructions are allowed to drop to 6 feet 8 inches at isolated points, which matters because most basements have at least one HVAC trunk line or structural beam crossing the ceiling somewhere in the room. Mapping those obstructions before finishing work begins keeps a low duct from ending up directly over the primary seating row.
Room Proportions Affect Sound And Sightlines More Than Most Homeowners Expect
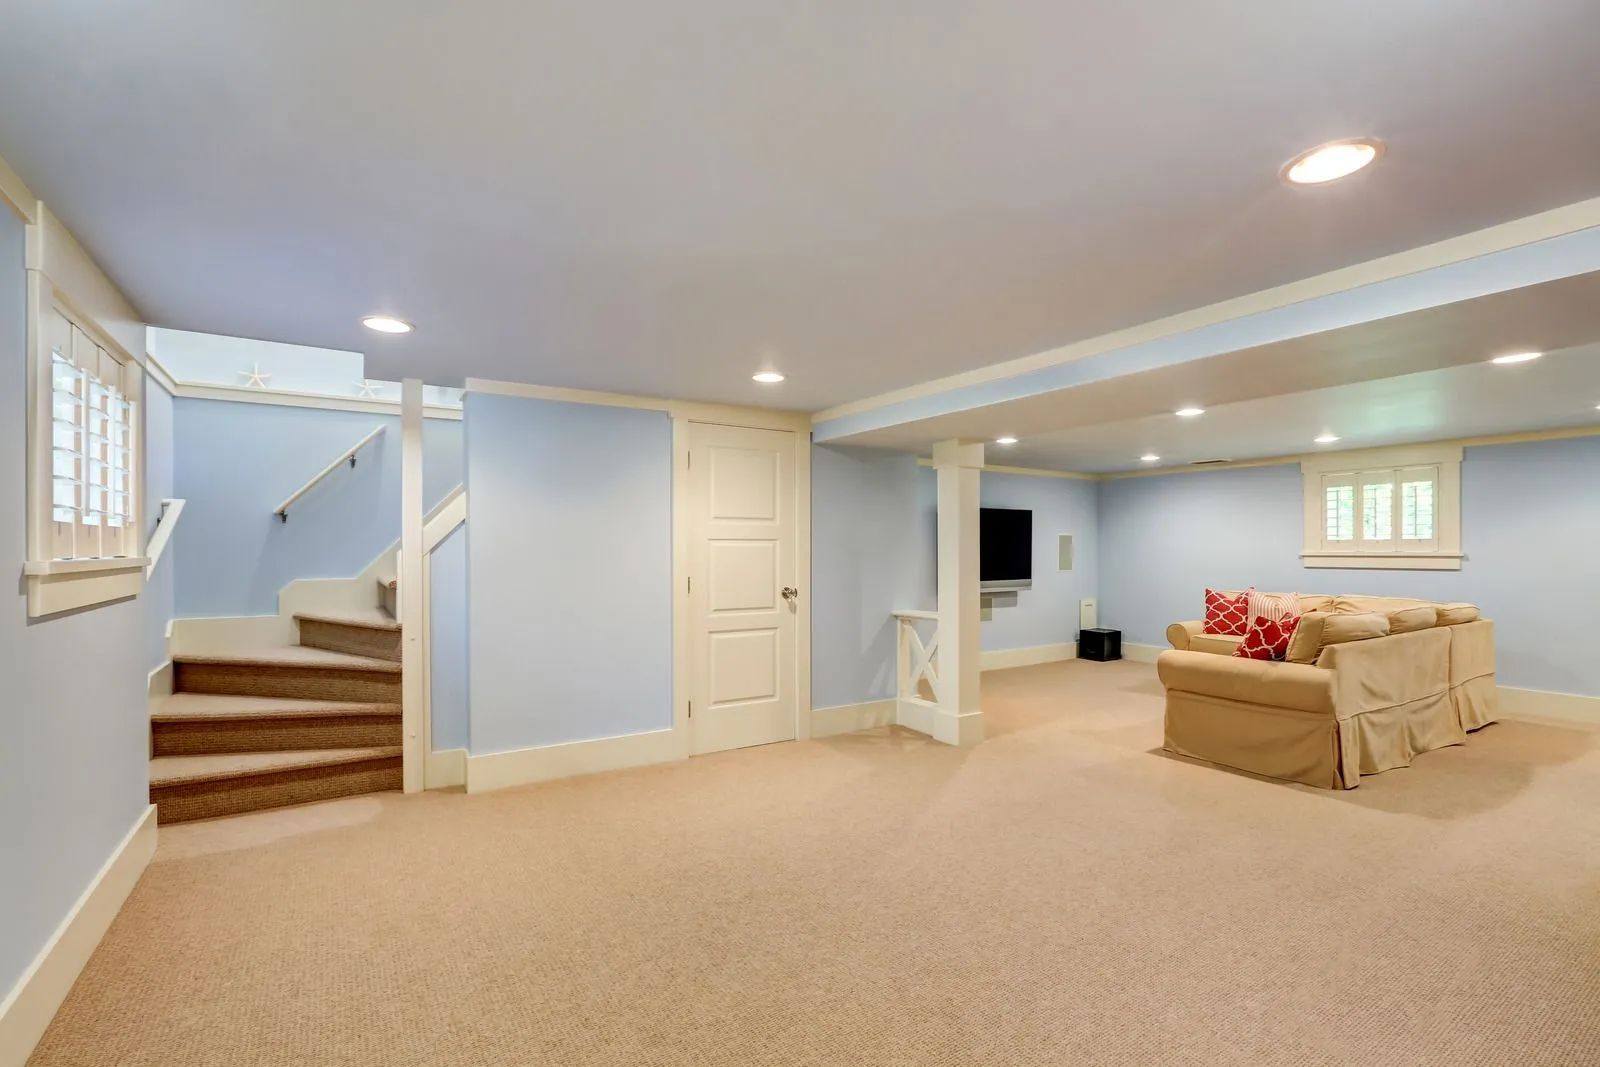
A nearly square room tends to create standing waves that muddy bass response, while a rectangular room with a length to width ratio of roughly 1.4 to 1 spreads sound more evenly and gives screen placement room to breathe. Most basement theaters seating four to six people perform best in a space at least 12 to 14 feet wide and 16 to 20 feet long, though smaller basements can still work well with a single row of seating and a modest screen size.
Wall Positioning Decides Where The Screen, Seating, And Walkways Land
The wall opposite the stairs or main entry usually works best for the screen, since it keeps foot traffic from crossing in front of the picture during a movie. Support columns, window wells, and mechanical panels should be identified early since they often dictate where seating rows can and cannot go.
Basement Moisture In This Part Of Maine Adds Another Layer To The Layout
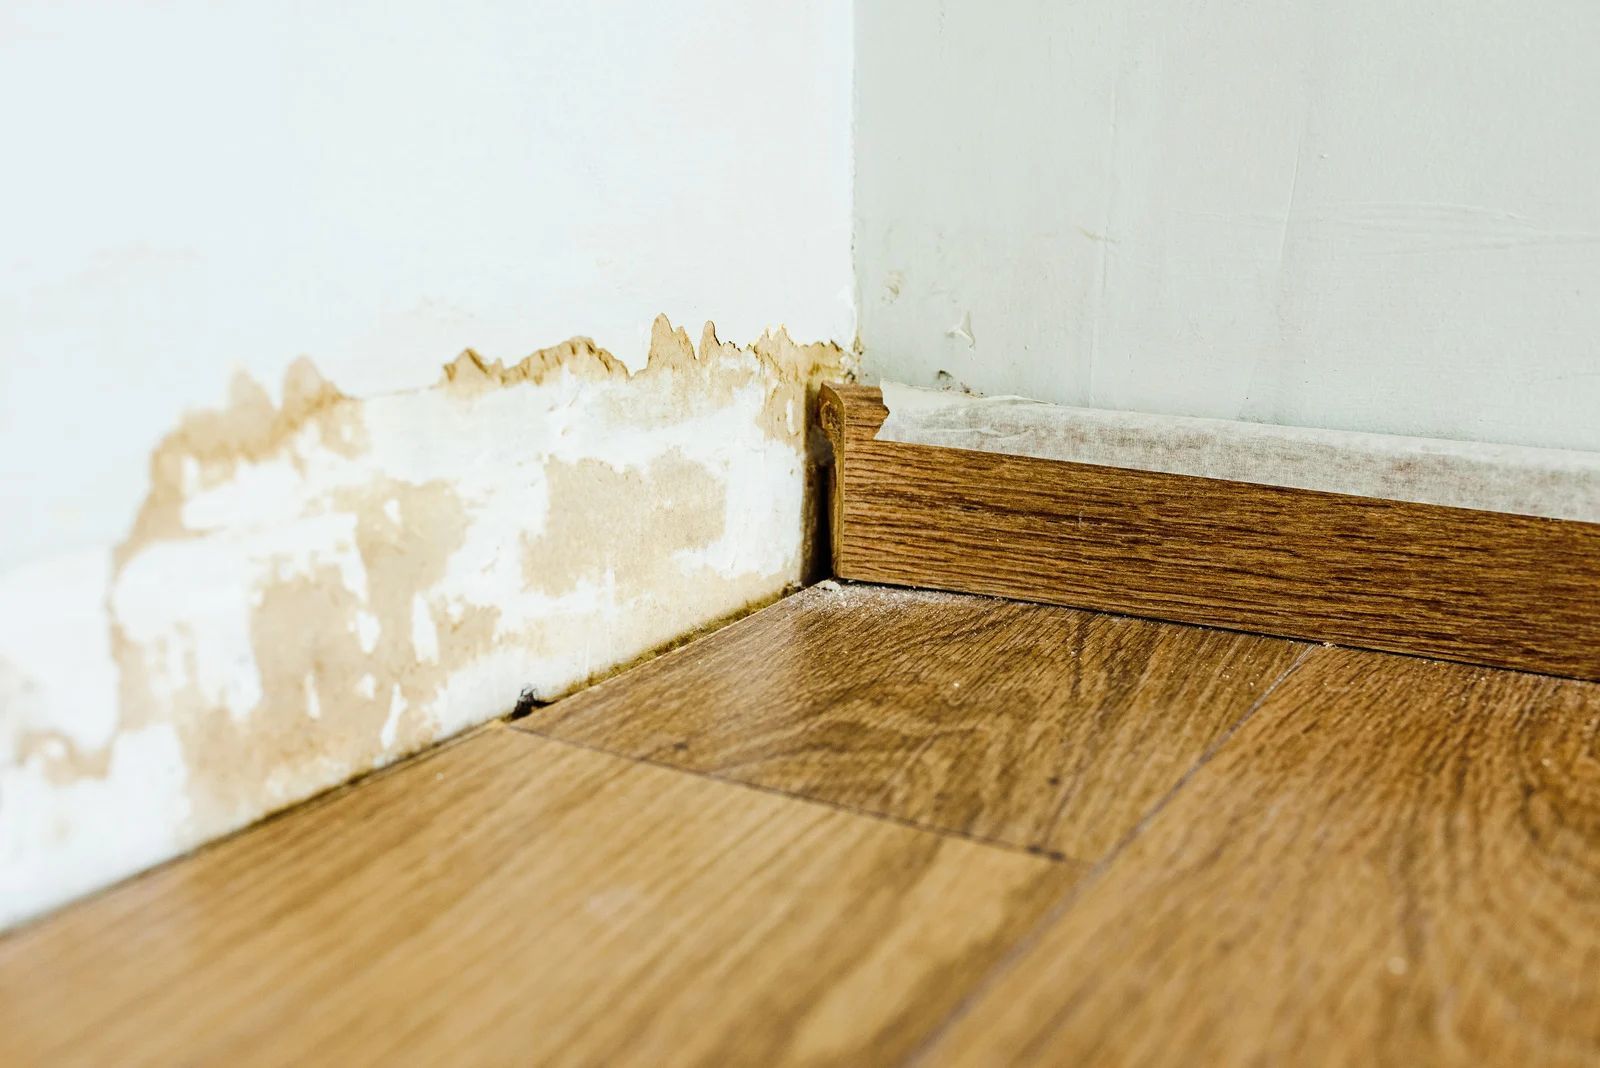
Basements across Saco and York County tend to run damp for a good portion of the year, which affects flooring choices under a riser platform and how walls are framed against foundation surfaces. A riser built with the wrong subfloor over a damp slab can trap moisture and warp over time, so vapor barriers and proper insulation need to be part of the layout plan, not an afterthought added once framing is underway.
Screen Size and Seating Distance Have to Be Decided Together
Viewing Distance Should Set The Screen Size, Not The Wall Space Available
SMPTE recommends a minimum viewing angle of 30 degrees for a comfortable, cinematic field of view, while THX recommends a wider 36 to 40 degree angle for a more immersive experience. In practical terms, that translates to a seating distance of roughly 1.2 to 1.6 times the screen width, with 1.4 times the width landing close to the middle of that range for most rooms. A 120 inch diagonal screen, for example, works well with a primary seating distance somewhere between 9 and 12 feet.
Screen Height Needs Its Own Clearance On Top Of Screen Width
The bottom edge of the screen typically sits at least 24 inches off the finished floor so the picture is not blocked by the heads of anyone seated in front, and the top edge should sit at least 6 inches below the finished ceiling to leave room for a motorized housing and prevent glare from reflecting off the ceiling. On a standard 8 foot basement ceiling, that leaves roughly 66 inches of usable screen height, which limits a 16:9 screen to around 130 to 135 inches diagonal before the geometry stops working.
Projector Throw Distance And Screen Choice Move Together
A projector needs enough distance from the screen to fill it correctly, which means screen size, seating distance, and equipment placement have to be worked out as one decision rather than three separate ones.
Seating Arrangement Determines Whether Every Row Gets a Clean View
A Single Row Of Seating Keeps The Layout Simple
For basements with limited depth, one row centered on the screen with equal viewing angles from each seat is usually the easiest layout to get right and the least expensive to build.
Multiple Rows Need Elevation To Avoid Blocked Sightlines
Once a second row is added behind the first, the heads in front will block part of the screen unless the back row is raised. Most riser platforms run between 6 and 12 inches tall, with 7 to 9 inches being a common figure for a two-row layout depending on seat height and the distance between rows. Larger screens or a shorter gap between rows sometimes push that number closer to 14 or 16 inches.
Aisle Width And Walkway Clearance Matter As Much As The Seats Themselves
Comfort and code both call for keeping a clear path of at least 30 to 36 inches behind and beside seating rows so guests can move through the room without climbing over furniture, especially once a riser is added to the layout.
TIP: Before finalizing seat count, sit in the space with folding chairs set at the planned spacing and watch a movie or a game from each seat. Numbers on paper do not always match how a layout feels once you are sitting in it.
Wall Positioning Shapes Wiring, Acoustics, and Equipment Access
The equipment location should be decided alongside the seating layout, not after it. Receivers, media players, and wiring panels need a spot with airflow and easy access for future upgrades, and that spot works best when it is planned into the wall layout from the start rather than squeezed in once furniture arrives.
Speaker wall placement follows seating, not the other way around. Front, center, and surround speaker positions are set relative to the primary seating row, which means the seating layout has to be finalized before wiring pathways are run through the walls and ceiling.
WARNING: Running wiring or finalizing outlet placement before seating position is locked in is one of the most common reasons basement theaters need wall repairs within the first year. Confirm seat placement and screen height before any wire goes into a stud bay.
Common Layout Mistakes That Turn Into Rework
Skipping a walkthrough with real furniture before committing to riser height is one of the most frequent mistakes we run into, since drawings on paper rarely account for how recliners feel once someone is sitting in them.
Placing the screen wall based on where a television happened to fit rather than where sightlines and column obstructions allow is another, and it usually means moving wiring after drywall is already up.
Underestimating aisle space for two-row layouts is common too, especially in narrower basements where every inch feels needed for seating. Give walkways their full clearance before deciding how wide the seating rows can be.
Building out a square or near-square room without adjusting for acoustics is another mistake that shows up later rather than during construction. The layout looks fine on paper, but bass builds up unevenly in the corners once the room is closed in and furnished, which is harder to correct after drywall and flooring are already installed.
How We Approach a New Basement Theater Layout
On a first visit, we measure ceiling height at several points across the room, since basement joists rarely run perfectly level, and check for beams, ducts, or plumbing that might affect where seating rows or the screen wall can go. From there we walk through screen size, row count, and seating goals to settle on a layout before any wiring or framing decisions are made.
After more than 15 years of remodeling homes across Saco, Biddeford, Old Orchard Beach, Scarborough, and the rest of York County, the layouts that hold up longest are the ones planned around how a family actually watches, not around a showroom setup. A tight two-row theater built around real sightlines beats a larger room with a screen nobody can see clearly from the back seat.
Frequently Asked Questions
How wide does a basement need to be for a home theater?
Most basement theaters seating four to six people work well in a room at least 12 to 14 feet wide, though a single row of seating with a smaller screen can fit comfortably in a narrower space.
What ceiling height do I need for a basement theater?
Habitable basement space needs a minimum finished ceiling height of 7 feet under the International Residential Code, with limited exceptions for beams and ductwork that can drop to 6 feet 8 inches at isolated points.
How far back should seating sit from the screen?
Seating distance generally falls between 1.2 and 1.6 times the screen width, which lines up with the viewing angle ranges recommended by SMPTE and THX for a comfortable, immersive picture.
Do I need a riser for a two-row theater?
Yes, in most cases. Without elevation, the front row blocks part of the screen for anyone seated behind them. Most two-row layouts use a riser between 6 and 12 inches tall depending on seat height and row spacing.
Can a support column or duct ruin a theater layout?
It does not have to. Mapping obstructions early lets a layout work around them, whether that means shifting seating rows, adjusting the screen wall, or planning trim work that hides a low duct run.
How long does a basement theater layout and build typically take?
Layout and design decisions usually take one to two visits before construction begins. The full installation, including framing, wiring, and finishing, often runs two to four weeks depending on room size and complexity.
Planning the Room First Makes the Theater Work
The layout decisions that matter most happen before any equipment gets ordered. Ceiling height, room proportions, and obstructions like beams or ducts set the boundaries the rest of the design has to work within. Screen size and seating distance follow from there, worked out together rather than chosen separately, and multiple rows only function once riser height and sightlines are settled. Skipping this order is what turns a theater into a project that needs reworking a year later, once the gaps between paper plans and lived-in comfort start to show.
Gerrish Remodeling & Design
has spent 15
years helping homeowners across Saco, Maine, get this sequence right from the first walkthrough. Measuring ceiling height at several points, mapping obstructions, and confirming seating and screen placement before wiring or framing begins is what keeps a
basement theater from needing costly changes later. A room planned around how a family actually watches, rather than around a showroom setup, is one that still feels right long after the first movie night.